Thursday, December 10, 2015

On the Bench - Trumpeter 9P117M1 Elbrus Scud B - Pt.6

Well starting to think this long build is getting close to the end, a couple of sprues are empty and gone, while the remaining sprues only have a few parts left on them.

Work has begun on the front cabs, and they are well detailed.  There was no issues with the fit, and the windows were masked inside and out.  The cab interiors were painted Vallejo Air Pale Green interior and details picked out with Vallejo Model colors.


On assembling the cabs after interior paint, I did have a fit issue with on cab on the front, but nothing a little Tamiya putty won't fix.


The rest of the kit is together and looking like a monster.  I have started on the rocket and cradle, and again fit is no issue.  When building the bottom part of the cradle, there are pins that need to match up to the bottom of the rocket, so I left the rocket mount un-attached to the cradle and while gluing the pins in, I mounted it to the rocket bottom to keep the pins lined up.


Also on the bottom cradle the lower PE part in the image was a little long, so I trimmed the corners to get it to fit.


Up next, finalize the front cabs, and try to get it all together.

Sunday, December 6, 2015

On the Bench - Trumpeter 9P117M1 Elbrus Scud B - Pt.5


Just a quick update, as working on the interior sections, and with priming and painting, taking a little longer.  The decals supplied by the kit do look nice, but a little difficult to line up.  While not a lot of wiring detail, this would be an area that would look real nice if you had the time and wanted to super detail it.  As I am closing the doors, I went with what is in the kit.


The same goes for the driver section, a lot of room for detail.

Saturday, November 21, 2015

On the Bench - Trumpeter 9P117M1 Elbrus Scud B - Pt.4

Well work on the SCUD B continues, and I think I can see the bottom of the box.  As mentioned before, to prevent a nightmare of a masking job, I am painting the sub-assemblies as they come.

The front bumper is now attached with the headlights in, and I must say the PE headlight guards look great.


The rear stowage and compartments have been painted and added.  I am using Ammo by Mig Russian Base, and am becoming alot more comfortable with Ammo paint, to the point that I think I really like it.


The tail end sub-assembly is also together and painted, just waiting for installation.


Trumpeter has been nice enough to include decals for a lot of the control, including rear under fender control stations.


Construction has moved to the center component section, and the kit is still going together very well.  I must say, other then some ejector marks to fill, this kit from Trumpeter is great.  I might have to tackle the Smerch next, well actually stay tuned, picked up the Sherman kit I needed and I will be starting on a Ram II conversion real soon.

Wednesday, November 18, 2015

Filling cavities the easy way!

Ever come across the issue of a molded part with the back open, leaving a cavity empty that just should not be there.  A normal resolution would be to cut a piece of styrene to fit, then glue it in place.  This meant some measuring, cutting, test fit, sanding, and so on.


Well I keep a bottle of Deluxe Rocket Powder on my desk.  To fill a small to medium cavity, it is just a matter of filling the cavity with the Rocket Powder and adding a drop or two of thin CA.  Since it may be difficult to get a flat even surface, I fill the cavity up leaving a small gap with the top of the cavity and after the CA dries, I use some putty(I use Tamiya) to complete the job, with a quick sand at the end.


Presto, cavity filled.

Wednesday, November 11, 2015

On the Bench - Trumpeter 9P117M1 Elbrus Scud B - Pt.3

Was able to find time to work on the monster a little more, and finding out this will be a build and painting of sub assemblies.  But not a problem, just planning.

I have completed the engine, painted, and mounted on frame, all with good fit.  I used Vallejo Metal Steel on the engine over a black primer, and am not totally sold on the Metal line yet, but I will try it again.


I moved on to the front fender, and it builds up very nice.  Trumpeter was very nice including a template part for molding the photo-etched headlight guard. It really adds to the look.


Sunday, November 8, 2015

Don't be afraid of Resin

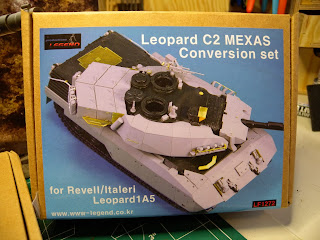
Resin aftermarket parts can add a lot of extra detail to a model kit, and with a little extra work and patience there is nothing to be a afraid of.  Extra detail for models is becoming more regularly available, as there is now a lot of companies that specialize in aftermarket detail that the kit manufacture may have omitted for one reason or another.  Aftermarket parts also provide conversions, changing the production variant of a vehicle, or creating a vehicle for different uses.  In these cases, you will find most conversions are done in resin.


Resin, while almost like plastic, has to be dealt with a little different.  Resin in most cases in cast in rubber-like molds, while plastic is molded in metal molds.  Due to this, greater detail can be cast into the resin.  You will find resin to be a little more harder, and brittle then most plastics, which may make it a little harder to work with.

When starting with resin, some key tools to have on hand are a good hobby knife, a good razor saw, sand paper or sanding sticks, and glue.  Normal plastic glue will not work on resin, the best options are epoxy or Cyanoacrylate Adhesive (CA), otherwise known as Super Glue.  Most modellers prefer CA due to its quick drying time.  Epoxy can be used, especially if there is a need for a longer working time.

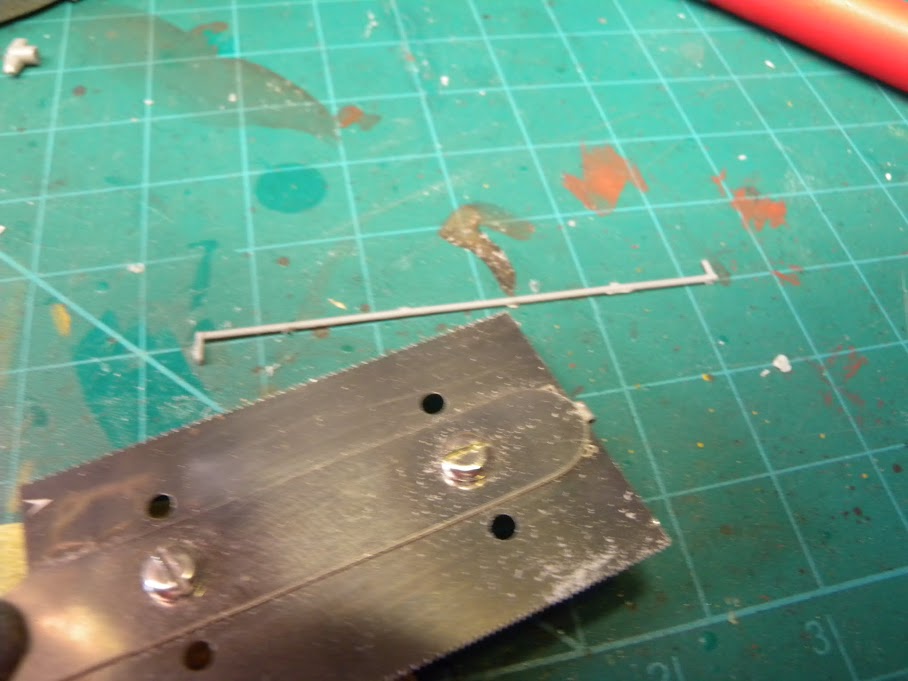
Most resin parts will come attached to a cast block, similar to a plastic sprue.  I some case that attach point will be relatively, and thick.  This can be score with a hobby knife, but I find using a good razor saw speeds up the process and gives a cleaner cut.  Once the part is off, it will normally need to be sanded a little to clean up the cut.

It should be noted that resin dust should not be breathed in, and when cutting and sanding resin I highly recommend wearing a breathing mask. 

Once the part is cleaned up, it will be ready for attaching to you model.  Depending on the size and location of the part mount, may help determine the type of glue to use.  The majority of parts will attach with CA.  CA comes in multiple viscosities, thin, thick, runny, non-runny, etc.  In most cases, I use a thin CA, as it will have a faster set time, ie. 5 seconds.  For some larger pieces that may require a little more time to get into place correctly, I use thicker, as the set time will be between 20 and 30 seconds.

There are two methods of applying thin CA, one with an applicator like a microbrush, toothpick, or specially designed tool.  For me, in most cases, I use a tooth pick, it is easy and inexpensive.  If you have issues picking up glue with a toothpick, try cutting a small slot at the end.  This is a great method for applying small amounts to a pinpoint location.  If you need to apply a little more, a microbrush will help.  In some cases, for long seams for example, I will use a teflon tube that fits on top of the bottle, and has a small flow that will allow getting the into the seam.

Prior to painting, I suggest that you apply a good primer, the three I have used with good results are Tamiya (in the spray can), Alclad Micro Primer, and Vallejo Primer.  While I do prefer the Tamiya for its sticking power, the others work well if the resin is cleaned well.

Once completed resin kits, conversions, and detail sets can provide the extra level you are looking for, don't be afraid and give resin a try, you might like the results.
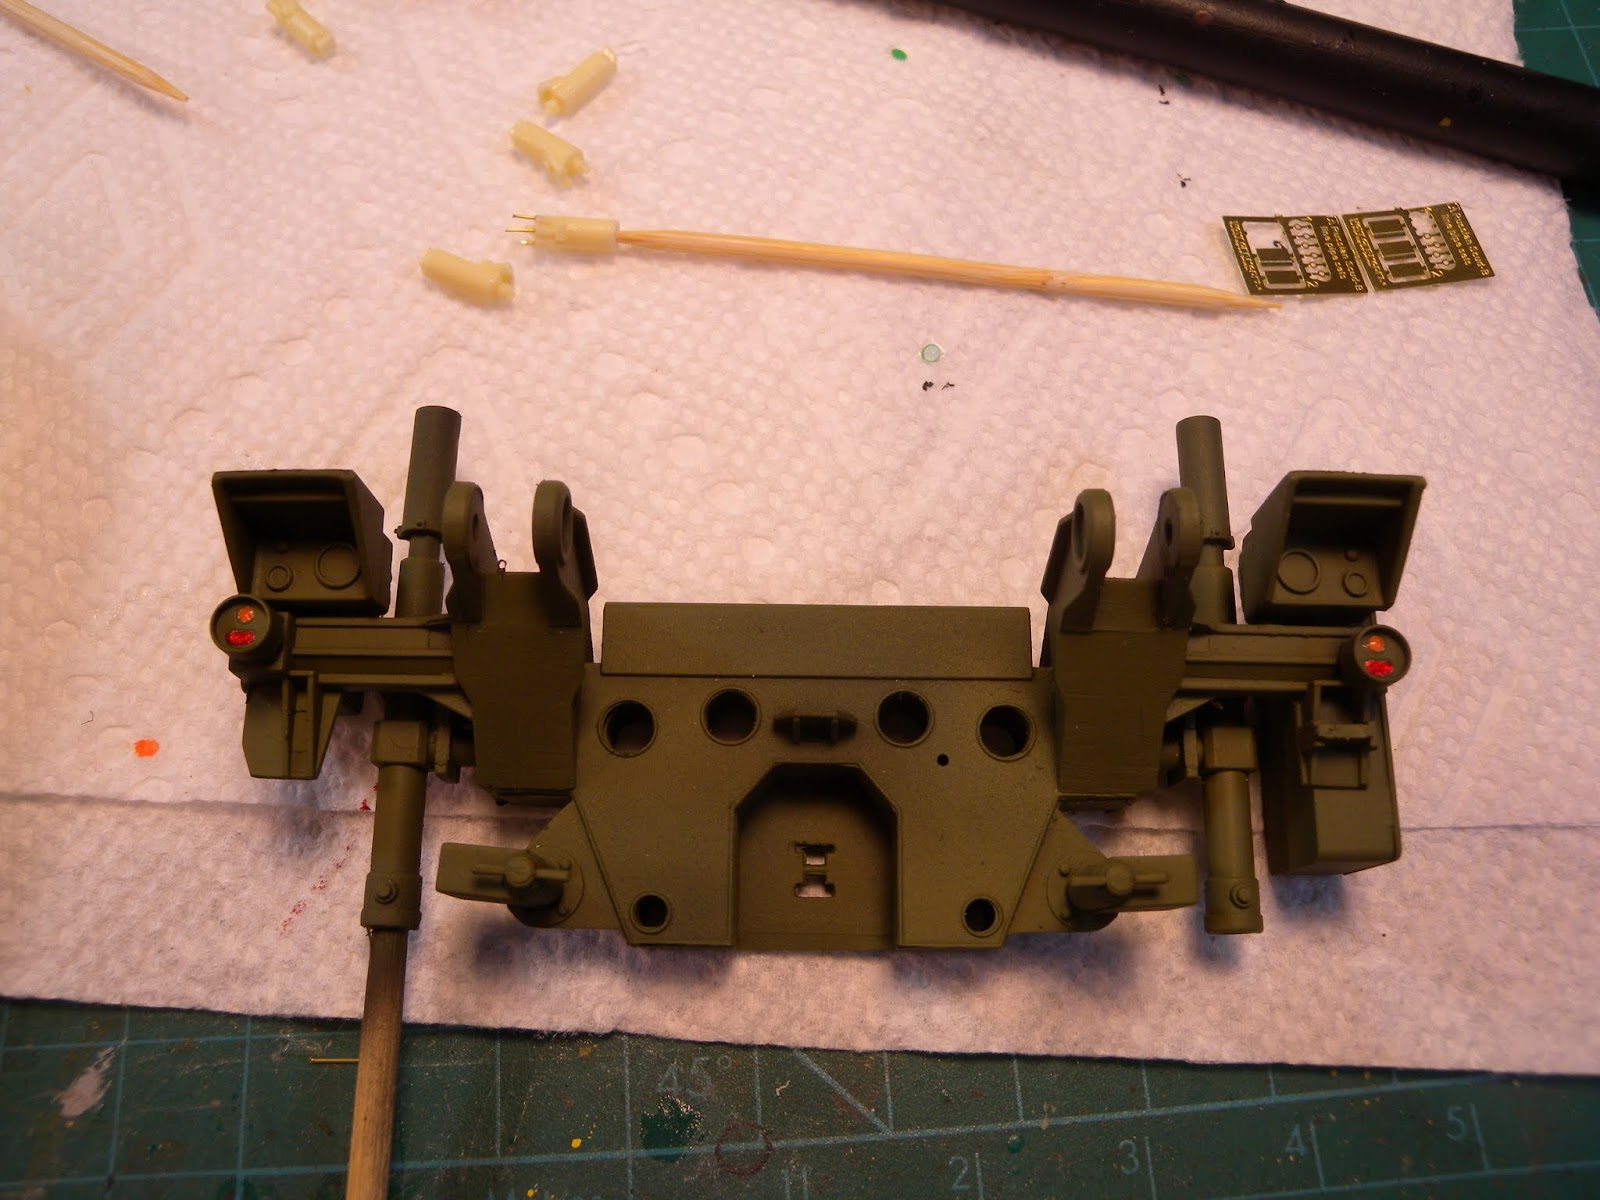
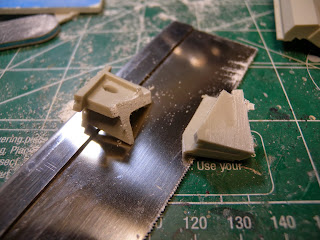


On the Bench - Trumpeter 9P117M1 Elbrus Scud B - Pt.2

Now this was fun, I have now primed the frame and engine components using Vallejo Black Primer.  I mixed the primer with about 25% mix of Vallejo Thinner and a few drops of Flow Aid.  Trying to get into the nucks and crevices proved to be fun, but patience and time got it done.


The plan is to leave the frame black, but I will over spray with a Black Grey to give it some depth.  Also I plan on painting the engine with the new Vallejo Metal Steel, so I will be able to report back to you on how this works.


Saturday, November 7, 2015

On the Bench - Trumpeter 9P117M1 Elbrus Scud B - Pt.1

It is great having time back at the bench, and I have a great looking kit to get started with, the Trumpeter Scud B.  The kit comes in a big box, and with lots of parts.  Overall the quality of the parts look great, with the exception of the vinyl rubber tires that I am not a big fan of.  I have bought the E.T. Models weighted wheels and the Voyager piping set.

So after an evening full of work and some afternoon work, I finally have the most of the frame together.
Add caption

The fit is good, and there is some decent detail.


Building of the suspension does take some work, and while alot of the parts on the sprues look alike, you really need to pay attention to part numbers.  Again the fit is good, and it looks(so far) that everything is lining up really well.


Next up is building of the LARGE engine, that does almost look like a kit in itself.

Friday, October 30, 2015

Dirty Tires

Here is a method I use for making tire look dirty, where the dust and dirt collect in the treads.  To start I mix a slurry of water and pigments, in this case using Mig Dried Mud.  The slurry should not be to thick, I like to have it runny as to get into all the crevices.


Next is to coat the wheel with the slurry, making sure to get it into the crevices, treads, and all areas you want to have the dirt showing.  I also apply the slurry into the wheel wheel and bottom of model.


Then you have to let it dry, I usually give it about an hour.


After that you can rub off the excess, I use a my thumb or finger, to be able to get the right pressure
and have better control taking off just what I want.  You can also use a stiff brush to change the effect and pattern in some areas, like the hub.


Thursday, October 29, 2015

Removing Small Parts

Sometimes removing small, fine, and/or delicate parts from a sprue can be disastrous.  Using clipper, snips or a hobby knife can damage the part, or even break it.  A good solution to this is to get and use a good razor saw.  Carefully cutting the part of the sprue using a razor saw can help save the part and get it off the sprue without damage.


The razor saws I use are from RB Models.  The set comes with a photo-etched clip to hold the saw that will fit into almost any hobby knife handle.  The blades are thin and sharp.  I prefer to use the fine blades, as you can control the cut better, especially with delicate parts.


New Source for Plastic Model News

There is a new source to get your plastic model news and more.

The Sprue News