Saturday, May 4, 2013

Getting Back at it.....

Well after a bit of a false start, I figured it was time to resurrect this blog.  I have been doing a lot of building in the past while, and before I get back to some helpful articles, I thought I would share some of the builds I have been working on.


For a little fun I went back to my early modelling days, and put together an older Matchbox kit, the 1/76 Comet.  It brought back a lot of childhood modelling.  To spuce up the accompanied diorama base, I added a little model railroad scenery.


The Bronco Staghound is an excellent kit to build, and produces a great looking model.  This a definite highly recommended kit for Canadian and British AFV fans.  My next quick blog will deal with a quick method to weather wheels, so stay tuned.


Mirror Models is a relatively new company on the market, and they have started to release a complete line of Canadian Military Pattern (CMP) trucks.  The C15TA model, in first release, is a true multi-media  kit, containing some plastic, resin, and photo-etched.  While not for a novice modeller, the kit does build a great C15TA.


Another fun build was the Dragon Models JagdPanzer IV L/48.  Zimmerit was added to the model using a product called Milliput.  It is a two part epoxy putty that provides a good working time, thus allowing time to apply then create the pattern.  In the future, I will post on how easy this method is to apply zimmerit.

Well stay tuned, as I will become more active with this blog.

Saturday, September 22, 2012

Wheels on a Stick Part 1

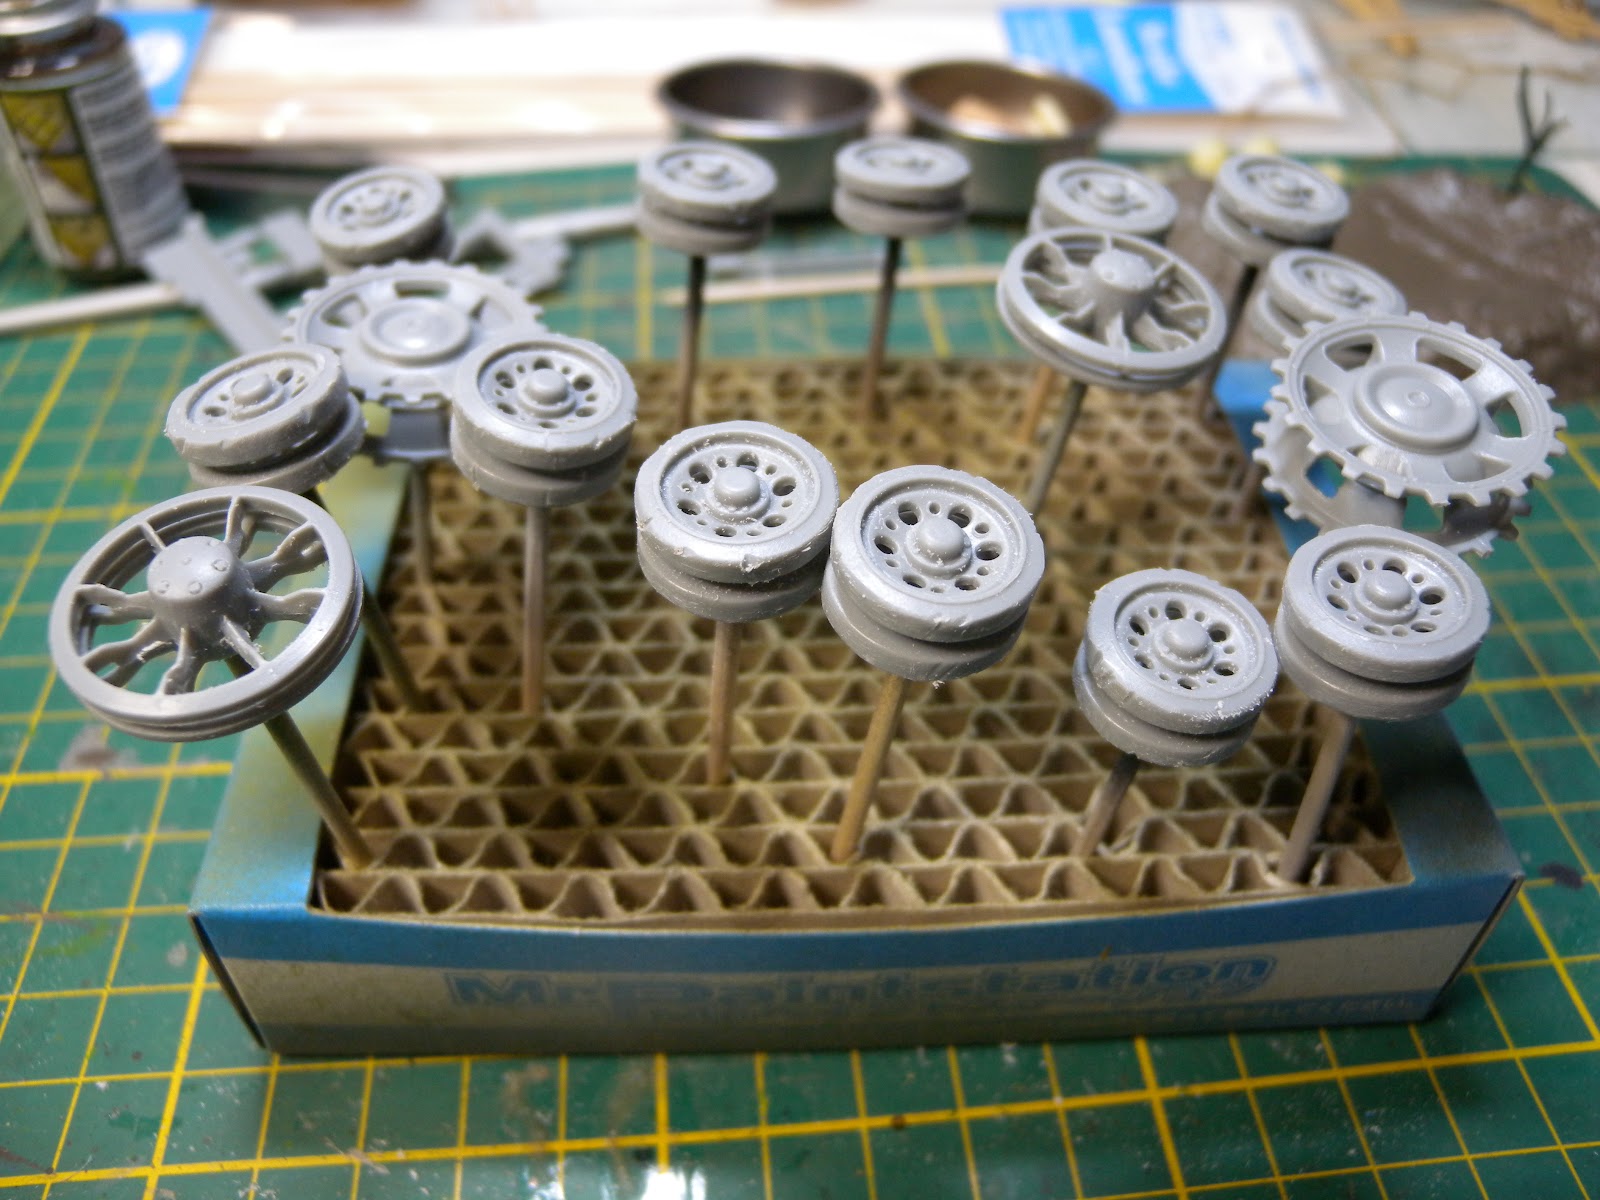
Ever had problems painting road wheels, or even aircraft wheels.  Well, tooth picks to the rescue.  I keep a stash of tooth picks for just this reason.  Mounting your wheels on tooth picks makes the painting process so much easier.


And you don't have to keep buying them, I reuse them.  And you will notice the tape around some, I add a little Tamiya tape to the end to adjust for the hole in the wheels as needed.

Now with the wheels built, it is time to mount them.


So you can see, it is pretty easy.  You will notice that the cog wheel in this case, has a much bigger mount point, so a little blue tack solves the problem.  Now to hold them up, and keep them seperated.  I got this box at my local hobby store, but you can use a piece of foam or cardboard with holes in it.


There and we are now off to the paint shop.  One helpful hint, is I use a rubber or latex glove to hold the piece while airbrushing.

Stay tuned for Part 2.


Thursday, September 20, 2012

New Blog from Sgt. Ram


Do you build plastic models?  Armor? Aircraft?  Looking for modeling tips.  Well welcome to Sgt. Ram's Modelling Tips.  Every week I will be publishing new tips on modelling to include building, painting, tools, and modelling in general.


If there is something you are interested, let me know and I will see what I can come up with.